What is Welding Procedure Qualification Test?
PQR, or Procedure Qualification Record, is a weld test used to verify the mechanical properties of a weld. The test is carried out as per ASME Section IX or AWS D1.1.
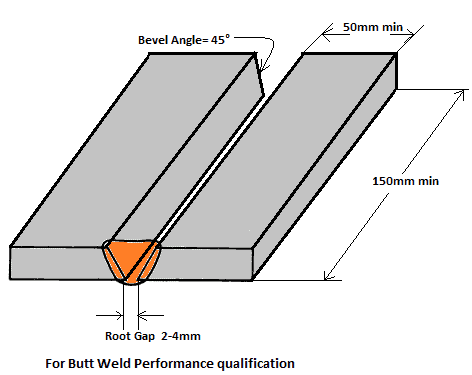
PQR is used to qualify a welding procedure for use in manufacturing. The test is performed by welding a test coupon, which is then subjected to various tests (such as tension, bend, and Charpy impact) to determine the weld’s mechanical properties.
If the test results meet the requirements specified in ASME Section IX or AWS D1.1, then the welding procedure can be qualified for use in manufacturing.
The PQR test results include information on the base metal, filler metal, welding process, heat input, interpass temperature, post-weld heat treatment (if applicable), and mechanical testing data. This information is used to evaluate the weldability of the materials being joined.
Why we need to Qualify Welding Procedure WPS & PQR?
Welding is a vital part of many industries, from construction to manufacturing. Qualifying a welding procedure is essential to ensuring the quality of the weld and the safety of those who will be using it.
There are two main types of welding qualifications: Welding Procedure Qualification Record (PQR) and Welder Performance Specification (WPS). PQRs establish that a welding procedure can produce acceptable welds in a given set of circumstances. WPSs qualify an individual welder to perform a specific welding task.
PQRs and WPSs are both important, but WPSs are particularly critical for welding guidelines applications. A qualified WPS ensures that the welder understands the correct way to set up the equipment and that the welding procedure itself is sound that is capable of producing a reliable welding joint in terms of mechanical properties.
What tests must be performed on the weld for procedure qualification?
In order to qualify a welding procedure, certain tests must be performed on the weld. There are several tests that must be performed on the weld in order to qualify the procedure. These tests include:
- A visual inspection of the weld to check for any defects: Mandatory Test
- A tensile test to measure the strength of the weld: Mandatory Test
- A bend test to measure the ductility of the weld: Mandatory Test
- A radiographic Test to ensure weld deposit soundness: Not mandatory as per ASME Section IX. Usually included to skip any defective weld portion when cutting mechanical test coupons.
- A hardness test to check for any potential cracks or weaknesses in the weld: If required required as per design, client or service requirements.
- An impact test to check for any potential fractures in the weld: If required required as per design, client or service requirements.
- A Macro etch examination: If required required as per design, client or service requirements.
These tests are essential in order to ensure that the procedure is qualified and that the weld will be able to perform its function properly.
What are the test required for PQR?
In order for a procedure to be qualified, it must go through several tests to ensure that the weld shall meets the minimum specified requirements for mechanical properties.
Additional tests are generally included to ensure service related properties such as chemical composition, hardness, corrosion test, toughness and macro examination.
Following are the mandatory tests required for PQR Qualification:
- Tensile Test
- Visual Inspection
- Bend Test
Following optional tests are included for PQR qualification for various objectives as listed below:
- Hardness Test: Required for Hard facing procedures
- Macro Examination: To verify weld fusion in dissimilar welds
- Toughness Test (Charpy V-Notch Test): for weld & HAZ toughness in case of Low temperature welding applications
- Chemical Composition: For weld overlay & cladding application
- Corrosion Test: For weld overlay & cladding application
- CTOD Test: Mainly in shipbuilding jobs.
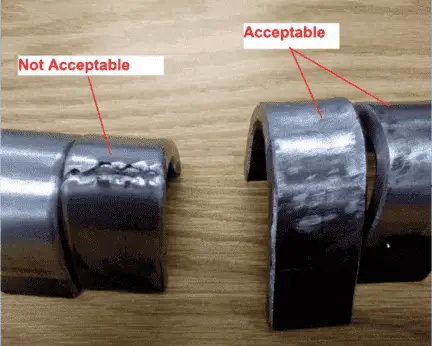
A visual examination is a mandatory test, which looks for things like cracks or porosity or other welding defects visible on weld outer surface. The second test is an X-ray test (not a mandator test although), which can find hidden internal welding defects that the visual examination might miss.
