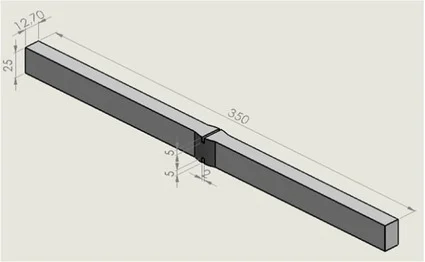
What is Toughness?
Before you learn what is Charpy V Notch Impact Testing, it is important to understand Toughness as a material property because impact testing or also called CVN testing is the only test used to measure the impact toughness for the materials (metals as well as non-metals) including welds.
When we say toughness, its means the total amount of energy that is needed to fracture a material- or a component such as pressure vessels or ship or bridge, It can be anything. For example, the toughness of a steel rod will be the amount of energy required to make it fracture.
When we say impact toughness, it refers to the amount of energy required to sudden break or fracture material and it is measured using the Charpy impact machine.
Generally, as the amount of energy required to fail a material increases so the toughness of the material also increases.
What is Charpy V Notch Impact testing?
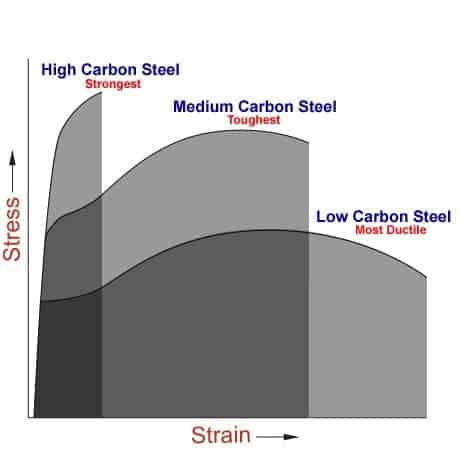
The zone under a stress/strain curve (darker zone in the below picture) resulting from a Tensile Test is also a toughness test but with slow loading conditions and does not represent an impact toughness.
When we talk about the Impact test, the toughness is represented by notch toughness.
This notch toughness is the measure of the material resistance to brittle or sudden fracture when a notch is present and loading is fast, a sudden impact in the case of the CVN Impact Test.
Historically, the attention to impact toughness was not a consideration for this material’s properties.
However, due to the brittle fractures of the welds in the Liberty ships faced by the USA in the II world war, the emphasis was put on fracture toughness. This work became the foundation of toughness and fracture tests. With new research and development, Impact toughness was developed.
Importance of Charpy V Notch or Toughness Test
Why Charpy V notch or Toughness Test is so much important?
Because when a material is utilized below Ductile Brittle Transition Temperature or also called DBTT temp., it is prone to brittle failure.
Materials when brittle behave like glass and will break without any warning when subjected to load.
Due to this reason, brittle fractures are the most dangerous type of material failure phenomena as failures without any warning are usually catastrophic in nature.
What is a fracture in materials and their types?
Brittle & Ductile Fracture in Charpy Impact test
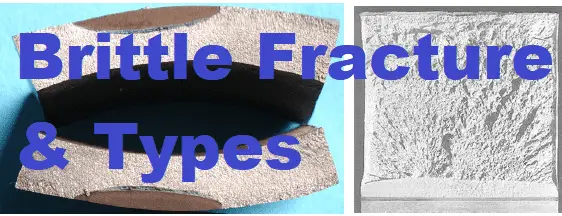
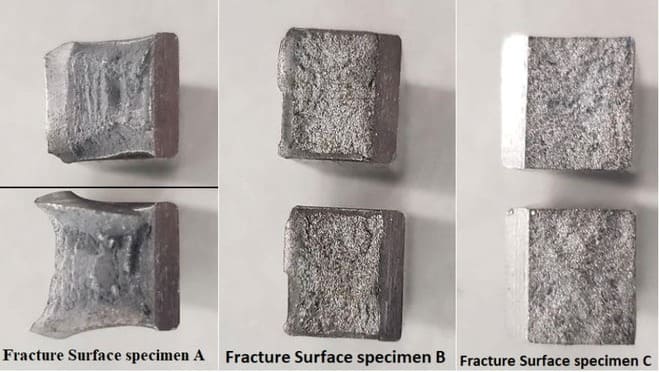
If CVN fractured specimen shows a flat, shiny fracture with no shear lip then it is termed a brittle fracture, otherwise good ductile materials show a dull-rough grey appearance with shear lips.
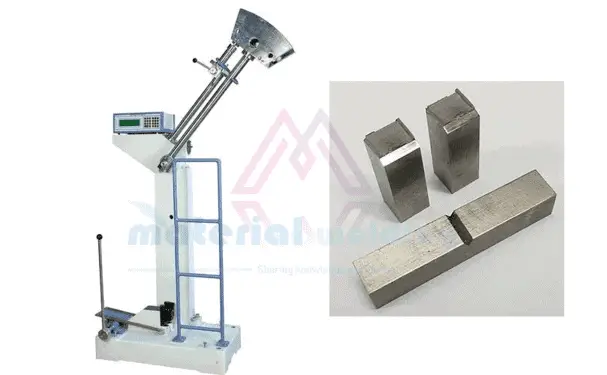
As shown in the below figure, Specimen A has a ductile fracture, specimen B is a mix of ductile& brittle and specimen C is having a brittle fracture.
Factors affecting the toughness of a Material
A number of factors affect the material toughness property, the main variables are:
- Temperature
- Strain rate or rate of loading
- Notch effect

Metals can have sufficient toughness under static loads, but it is important to know that they can be damaged by dynamic loads and impacts. The general rule is that while the percentage of stress increases, both ductility and toughness can decrease.
Temperature is another variable that has a significant effect on the toughness of a material.
As the temperature drops, both ductility and toughness decrease. The last variable is called the notch effect and is due to the stress distribution. If the load is uniaxial, it can be a tough material.
However, if multiaxial pressure is applied with a notch, the material will not be able to withstand two types of deformation: plastic deformation and elastic deformation in different directions.
Impact Test Procedure
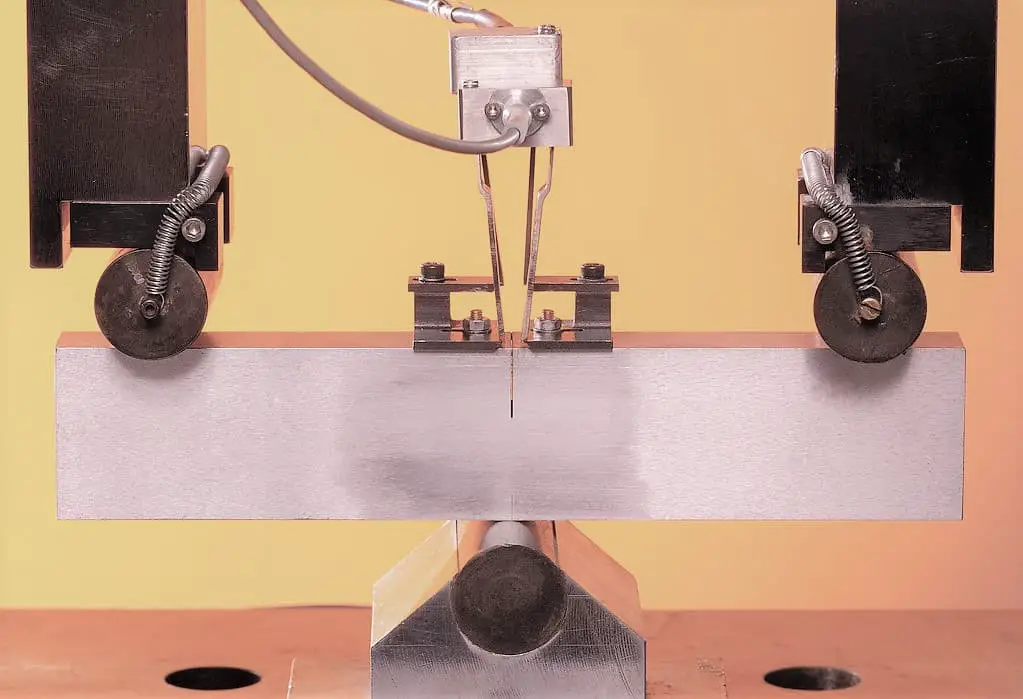
In a Charpy test, the prepared test specimen is subjected to a sudden impact load. The specimens are loaded on the anvil and a fixed load via a pendulum is applied to fracture the specimen.
Once the pendulum is released on the Charpy test machine, the needle on the scale also moves corresponding to the energy absorbed by the specimen.
As per test code or standards, a set of 3 test specimens are tested under the same test conditions (such as test temperature) and an average of these results are given as the average impact value.
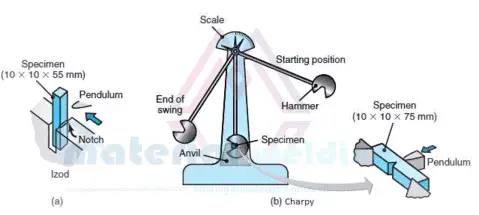
Test Specimen for Charpy Impact Test
The Charpy Test Specimens can have one of three different types of notches used a ‘keyhole’, a ‘U’, and a ‘V’. For brittle materials (e.g., cast iron) keyholes and U-notch are suitable.
For welding tests and ductile materials, the Charpy V-notch or also called CVN specimens are used worldwide.
The dimensions of a standard Charpy-V specimen, shown in the below figure are 55 X 10 X 10mm with a 2mm deep notch with a tip radius of 0.25mm machined on one face.
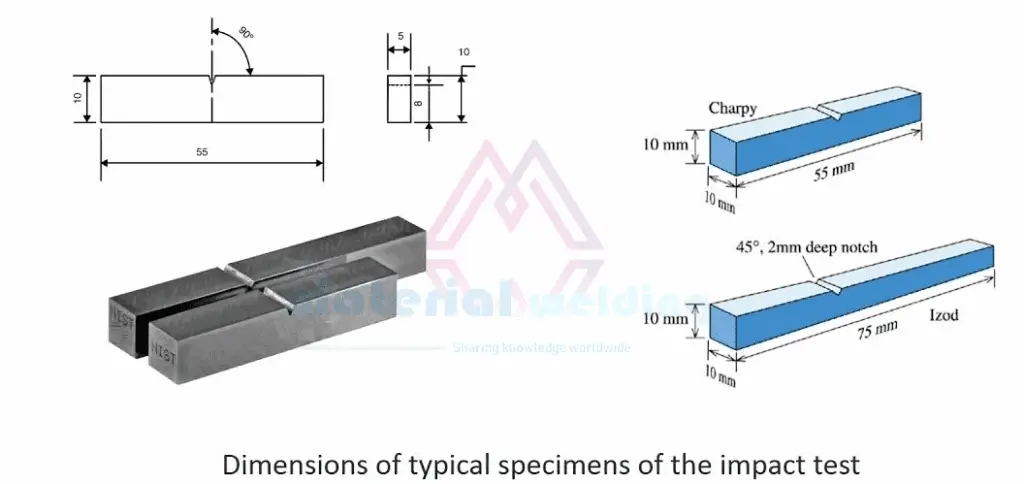
Charpy Impact Testing Standards
- ASTM E23: Notched bar impact testing of metallic materials
- DIN EN ISO 148-1 2011: Charpy pendulum impact test part 1 test method
- EN 10045-1: Charpy Impact test on metallic materials – Test method
- EN-875: Charpy impact test on welds
- ISO 9016: Destructive tests on welds in metallic materials- impact testing- test specimen location, notch orientation, and examination.
- ASTM E2248 – 18: Standard Test Method for Impact Testing of Miniaturized Charpy V-notch Specimens.
Ductile to brittle transition in impact testing
Carbon steel and low alloy steel are characterized by the fact that the fracture behavior changes as the temperature drops and the fracture type changes from ductility to brittleness.
When the impact test is run at a range of temperatures, the absorbed energy and temperature results can be plotted to obtain the “S” curve shown in the following figure.
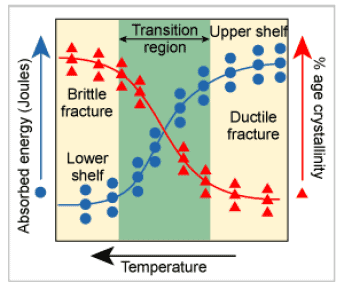
This indicates that as the temperature drops, the fracture of this type of steel changes from ductile to brittle changing the transition area as shown in the above figure.
Many specifications describe the transition temperature as the temperature at which fracture behavior changes from ductile to brittle.
This temperature is often determined by a completely arbitrary choice of the temperature at which the metal reaches a notched impact strength value of 27 joules.
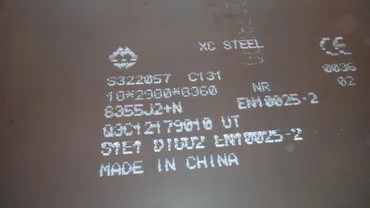
For example, referring to EN10028 Part 2 Steel Notched Impact Strength Requirements for pressure purposes.
What is the Tensile test procedure, types of equipment, and Lab report?
This curve shows that ductile fracture of the same material absorbs more energy than brittle fracture.
Therefore, if the structure is operated at a higher shelf temperature, it is very important to know the temperature at which the fracture behavior changes, ideally when considering the operating temperature of the structure in use.
The shape of the S-curve and the position of the upper and lower region are all influenced by the chemical composition, type of heat treatment, whether the steel is welded, weld heat input, weld deposit chemistry, and a number of others cause.
If you need good notch toughness, you need to control all the elements (all supplementary essential variables).
Quantitative results & Qualitative results
- The Quantitative result of the impact tests the energy needed to fracture material and can be used to measure the toughness of the material. There is a relationship with the yield strength although no formula to show it.
- The Qualitative results of the CVN toughness test can be used to find out the ductility of a material. In case, the material broke on a flat surface, then it’s a ductile failure, and if the material broke with jagged edges or shear lips, the failure is ductile. Normally, the material does not break in any way, and comparing the serrated surface of the break with the flat surface estimates the rate of ductile and brittle fracture.
Percentage Crystallinity and Lateral Expansion in Charpy Impact test
Brittle fractures are shiny and crystalline, and ductile fractures are dull and fibrous. Therefore, percentage crystallinity is a measure of the degree of brittle fracture, as determined by assessing the degree of crystal or brittle fracture on the surface of the broken sample.
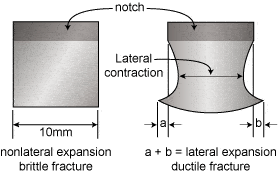
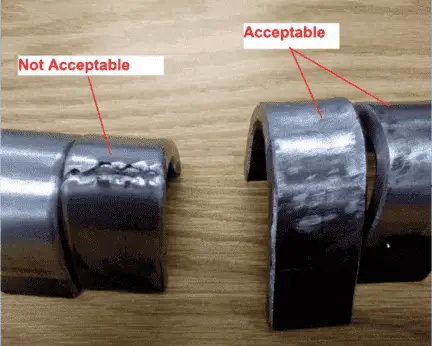
Lateral expansion is simply a measure of sample ductility. When the ductile metal breaks, the specimen deforms before it breaks, causing a pair of “ears” on the sides of the pressure plane of the specimen to pop out, as shown in the figure above.
The amount of deformation of the sample is measured and expressed as millimeters of lateral expansion.
For example, in ASME B31.3, instead of specifying an impact value, the lateral extension of threaded materials and steels with a UTS greater than 656 N / mm2 should be 0.38 mm.
